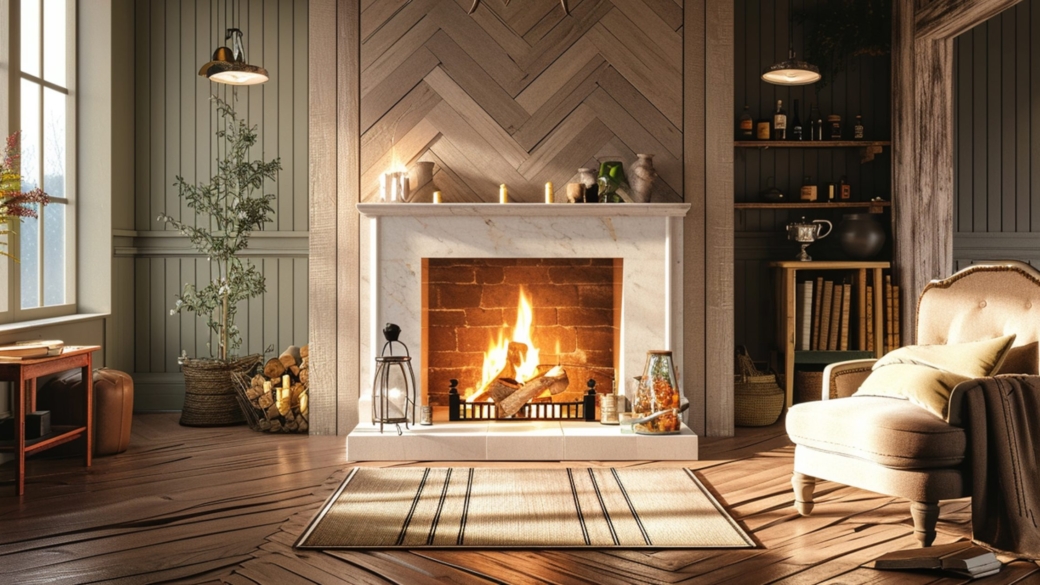
After years of planning and dreaming, our fireplace makeover is finally complete!
Our federal colonial-style home deserved a fireplace that truly matched its architectural charm, so we went all-in with a traditional molding makeover—just in time for Christmas. The mantel itself had served us well for eight years, but it was due for a fresh coat of paint. While we were at it, we decided to add some decorative touches to elevate the look.
Related: DIY Wall Molding Ideas to Add Character to Your Home
The great news? This project can absolutely be completed in just two days. If you’ve been thinking about giving your fireplace a facelift before the holidays, it’s totally doable over a weekend!
All in, our supplies cost $393 (excluding power tools). There’s even a way to adapt this project to work with basic tools instead of splurging on a compound miter saw, which can help reduce costs.
Supplies You’ll Need:
- Ekena Millwork 2” x 6” x 72” Fluted PVC Pilaster Molding (pair)
- 2 – 3/4” x 5-1/4” x 8 ft. MDF Fluted Casing
- 4 – 1” x 1” x 48” Primed Traditional Hardwood Panel Molding
- 16 linear feet – 1/2” x 3/4” Solid Pine S4S Molding
- Ekena Millwork 8 3/4” x 7 3/4” x 3/4” Dublin Wreath Onlay
- 2 – Ekena Millwork 5/8” x 3” x 4-1/4” Ashford Oval Rosette
- 1” x 12” x 16” Edge-Glued Hardwood
- Heavy-duty construction adhesive, latex caulk, bonding primer
- Behr Cabinet Doors & Trim Enamel in Even Better Beige
- Fine grit sandpaper, tape measure, level, pry bar
Tools:
- Power drill/driver
- 23-gauge pin nailer
- Compact router kit (optional, adds detail)
- Compound miter saw
Budget-Friendly Tool Alternatives:
- Miter box & hand saw: Perfect if you want to go very budget-friendly. Cutting takes longer but works.
- Circular saw: A mid-range option for faster cuts; still need a miter box for angled cuts.
- Compound miter saw: Fastest and most precise option. You can rent one if you don’t own one.
Step-by-Step Fireplace Makeover
Remove Old Molding
Start by using a pry bar to remove any existing molding beneath the mantel. This gives you a clean slate to work with.
Prepare the Pilasters
- Measure the mantel leg from the hearth to the shelf.
- Cut the pilaster molding into two sections at an angle using your saw.
- Attach the top section first by pre-drilling at the plinth and securing with screws.
- Repeat with the bottom section.
- Mirror these steps for the opposite mantel leg.
Build the Header
- Measure the space between the mantel legs for the header.
- Cut two square molding pieces to width.
- Use a level to trace a guide line for alignment.
- Attach the top and bottom pieces to the header with a pin nailer.
- Cut two more square pieces to fit vertically between the top and bottom molding.
- Add fluted casing inside the “box” shape you’ve created.
Add the Panel Molding
Attach the 1-inch traditional panel molding under the shelf and wrap the plinth block for a cohesive look. Don’t worry about small gaps—caulk will handle most imperfections.
Аttaching Decorative Onlays
- Mark the center of each plinth block.
- Attach onlays using heavy-duty construction adhesive.
- Create a center block from the edge-glued hardwood piece, routing edges for a traditional touch if desired.
- Secure the hardwood block to the header with screws.
- Attach the wreath onlay to the block with construction adhesive.
Finishing Touches
- Caulk all edges and fill pin holes or screw holes with wood filler.
- Sand smooth once dry.
- Prime and paint—our color choice, Behr Even Better Beige, ended up slightly lighter than expected, but it subtly pops against our Benjamin Moore Swiss Coffee walls.
Styling and Seasonal Touches
We couldn’t resist dressing it up for Christmas with our favorite pine garland. Honestly, the fireplace looks so beautiful that I might move the stockings to the media room this year to avoid covering the details. Next on my list? Possibly spray-painting our fireplace screen in high-heat gold for a bit more glam.
This project proves that with a little planning, some patience, and a touch of creativity, you can transform your fireplace into a stunning focal point—even on a weekend and without breaking the bank.